Sunday, 22 September 2013

Christmas Cards Made Easy

There is nothing like getting an actual card in the mail at Christmas - i know many people don't have the time to make them anymore - it even takes time just to write on them so opt for the quick and easy facebook message - but it really is special when you get a hand made card as not only has someone taken the time to actual think of you and write on a card they have taken even more time to make them.   Hopefully these cards below might inspire you just a little and you can see for yourself that  you don't have to spend an hour on each card to end up with some lovely ones to give away...

Christmas Cards don't have to be daunting even though i have to admit thats a little how I felt when asked to teach a card class in Tassie last month - this was a little challenge for me as i don't usually do cards.  So it was good for me to put my head into another space.

Anyways take a Kaisercraft Paper Pad, some red and olive cards, a pack of collectables and a few other little things and that pretty much is the job done.  Full list of products used on the downloadable pdf above.
I decided to go down the path that you can keep it relatively simple and yet end up with lovely cards - oh yeah i added a few paper doilies too.....  (you can just get these from a supermarket)

Anyways i have included the instructions for each below but if you would like to download a pdf then you can do so HERE....  there is still so much paper left over in the pad that you can probably make another 10 or more.

With Christmas being only 192 days away you may just want to start soon....
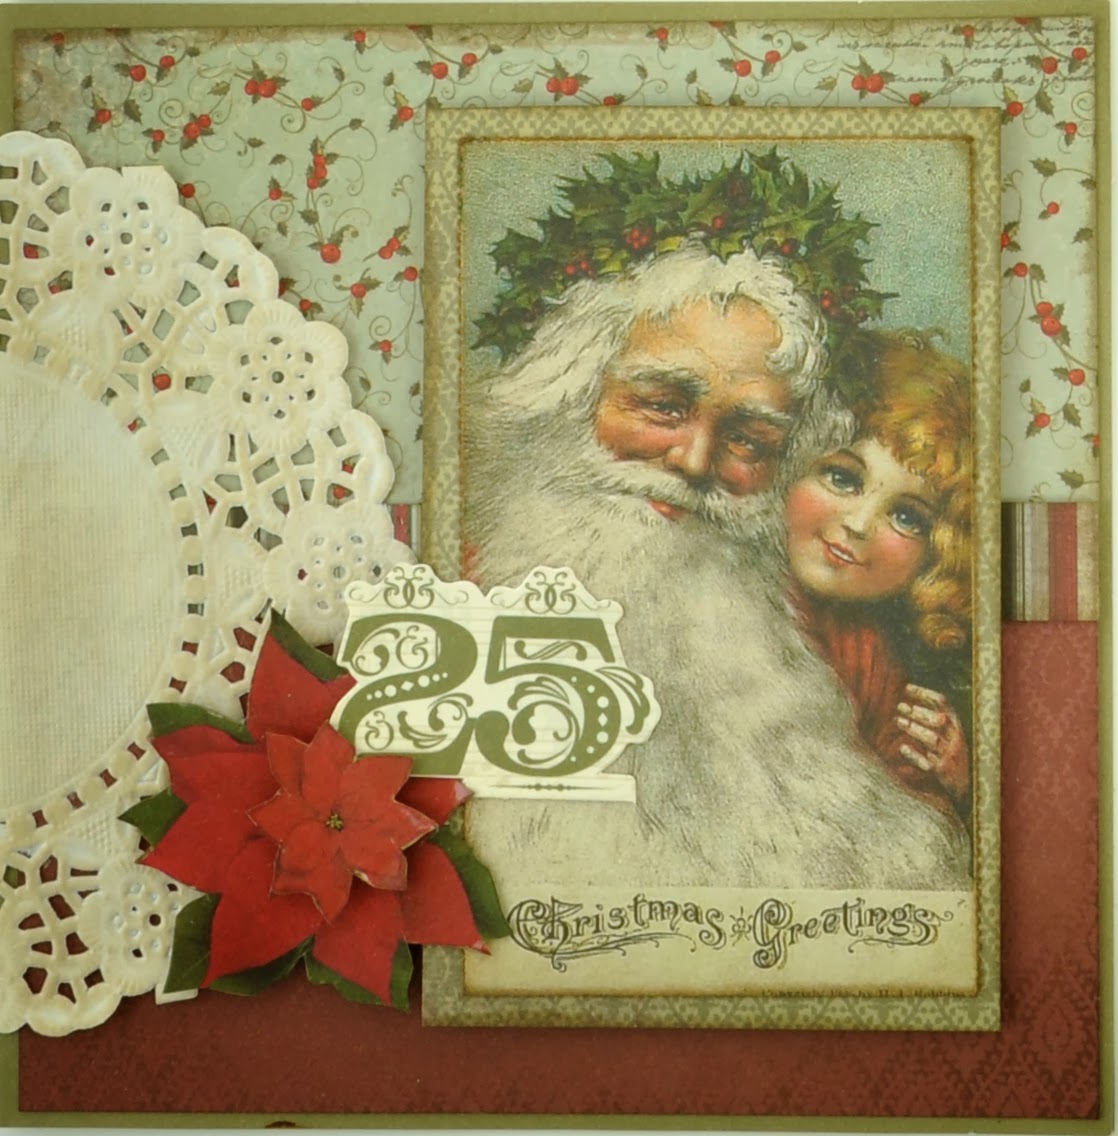


Use the Olive card as the base for this Christmas Card.
Cut two rectangles 5” x 2½” from red gloss embossed pattern and the blue background with red berries.
Ink the edges and adhere as illustrated.
Cut a 1cm strip from the striped paper and adhere across the join in the centre.
Matte the Santa from perforated tag onto the green
patterned paper and adhere to card using foam tape.
Adhere half doily as illustrated.
Cut out two glossed poinsetta flowers and layer using foam tape.
Adhere the ‘25’ die cut from the collectable pack
Stamp relevant sentiment inside the card.
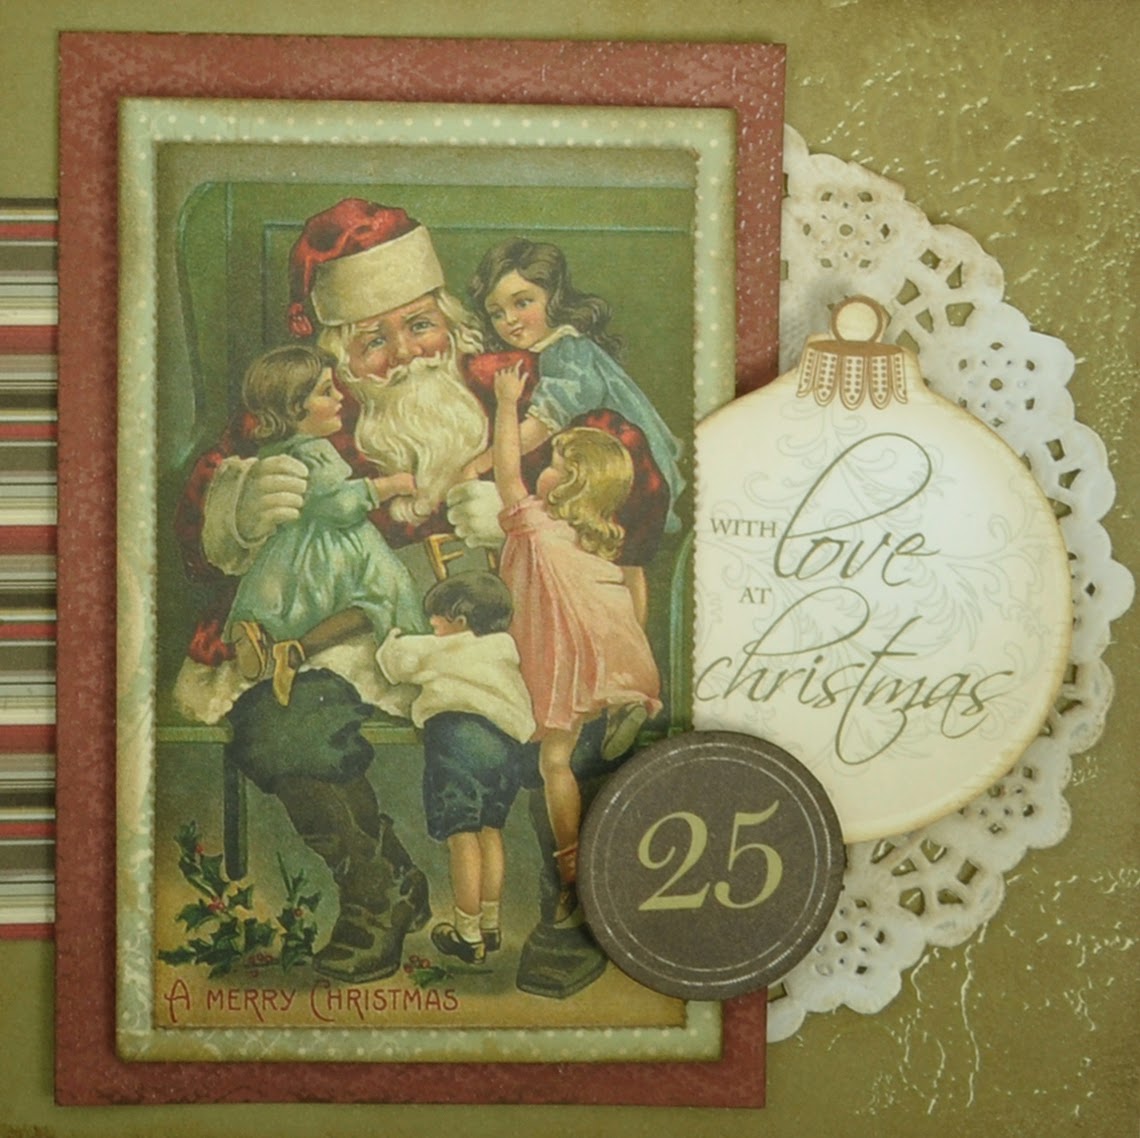

Use the Olive card as the base for this Christmas Card.
Ink the edges if desired.
Use clear embossing ink and stamp crackle texture  to right side of card.  Emboss with clear embossing powder.
Ink edges and lightly over the design.  
Embossed section will act as a resist.
Cuta 3½” x 1” strip from the strips and adhere to the left of card.
Matte perforated card using the blue spots paper.  Ink around the edges.
Ink glossed red paper and double matte the tag using foam tape for added dimension.
Adhere half a doily then adhere the tag using foam tape
Adhere other collectables as desired


Use the Red card as the base for this Christmas Card.
Ink the edges if desired.
Cut a 5” square from the green script paper and ink edges if desired and adhere to the centre of the card.
Cut a 4¼” x 4” rectangle from blue dots paper, ink edges and adhere to the right of the card
Adhere a border strip from the back of the pad down the left edges of the blue dots piece.
Adhere Postcard from the perforated cards with a portion of a doily and 1/2 a bracket diecut adhered underneath the bottom edge.
Adhere Christmas Quote and No. 25 collectable using foam tape for added dimesion.


Use the Red card as the base for this Christmas Card.
Ink the edges if desired.
Stamp the lattice texture design into the top right corner
Adhere doily to the card
Cut out three strips of patterned paper and cut a pennant shape into the bottom of each and adhere 
overlapping each to the left side of the card.
Adhere the large poinsetta flower to the top left corner using foam tape.
Adhere Peace, Love and Joy collectable using foam tape.
Stamp relevant sentiment inside the card.


Use the Olive card as the base for this Christmas Card.
Ink the edges if desired.
Cut a 5” square from the green hexegon patterned paper.
Cut three 4 cm strips and ink around all edges.
Adhere each strip to the card
Cut a 2½” x 3½” rectangle from the embossed red paper and ink as desired.  The gloss acts as a resist and highlights the design.
Adhere “Christmas Greeting” Collectable using foam tape - Ink edges if desired.
Ink edges of  the holly leaf collectable and adhere using foam tape.  Stamp relevant sentiment inside the card.


Use the Red card as the base for this Christmas Card.
Ink the edges if desired.
Cut a 5” square from the red flourish paper and ink edges if desired.  
Adhere to the centre of the card.
Adhere a decorative border from the back of the paper pad to the left edge of the card.
Adhere a doily to the card
Cut a 1½” x 2” strip from the green script and adhere towards the bottom of the card.
Matte a perforated card design using the red glossed paper.  Ink this glossed piece before adhering to use the gloss as a resist and highlight the design
Adhere to card with a collectable tag and flower.


Use the Red card as the base for this Christmas Card.
Emboss the card using the Tim Holtz – Book Covers Set Texture Fades (oval)  
Cut off extra card that is not embossed to the right of the design - front of card only
Ink edges of the card and over the top of embossed areas to highlight the design
Cut a 1cm strip of striped paper and adhere to the right edge of the inside of the card.  Ink edges
Ink edges of the two collectables and layer over each other using foam tape.
Stamp relevant sentiment inside the card.


Use the Olive card as the base for this Christmas Card.
Emboss the card using the Tim Holtz – Fancy Frames Texture Fades (oval frame) 
Cut around the top of the design and fold on the sides.
Ink edges of the card and over the top of embossed areas to highlight the design
Stamp Lattice texture into the bottom two corners.
Cut a 1cm strip of stripes and adhere across card
Layer the ornate shaped tags, quote and flower.
Cut a border strip down to 4” in length and adhere to inside of card using foam tape
Foam tape Merry Christmas to the centre of the border strip to hold up card when folded.
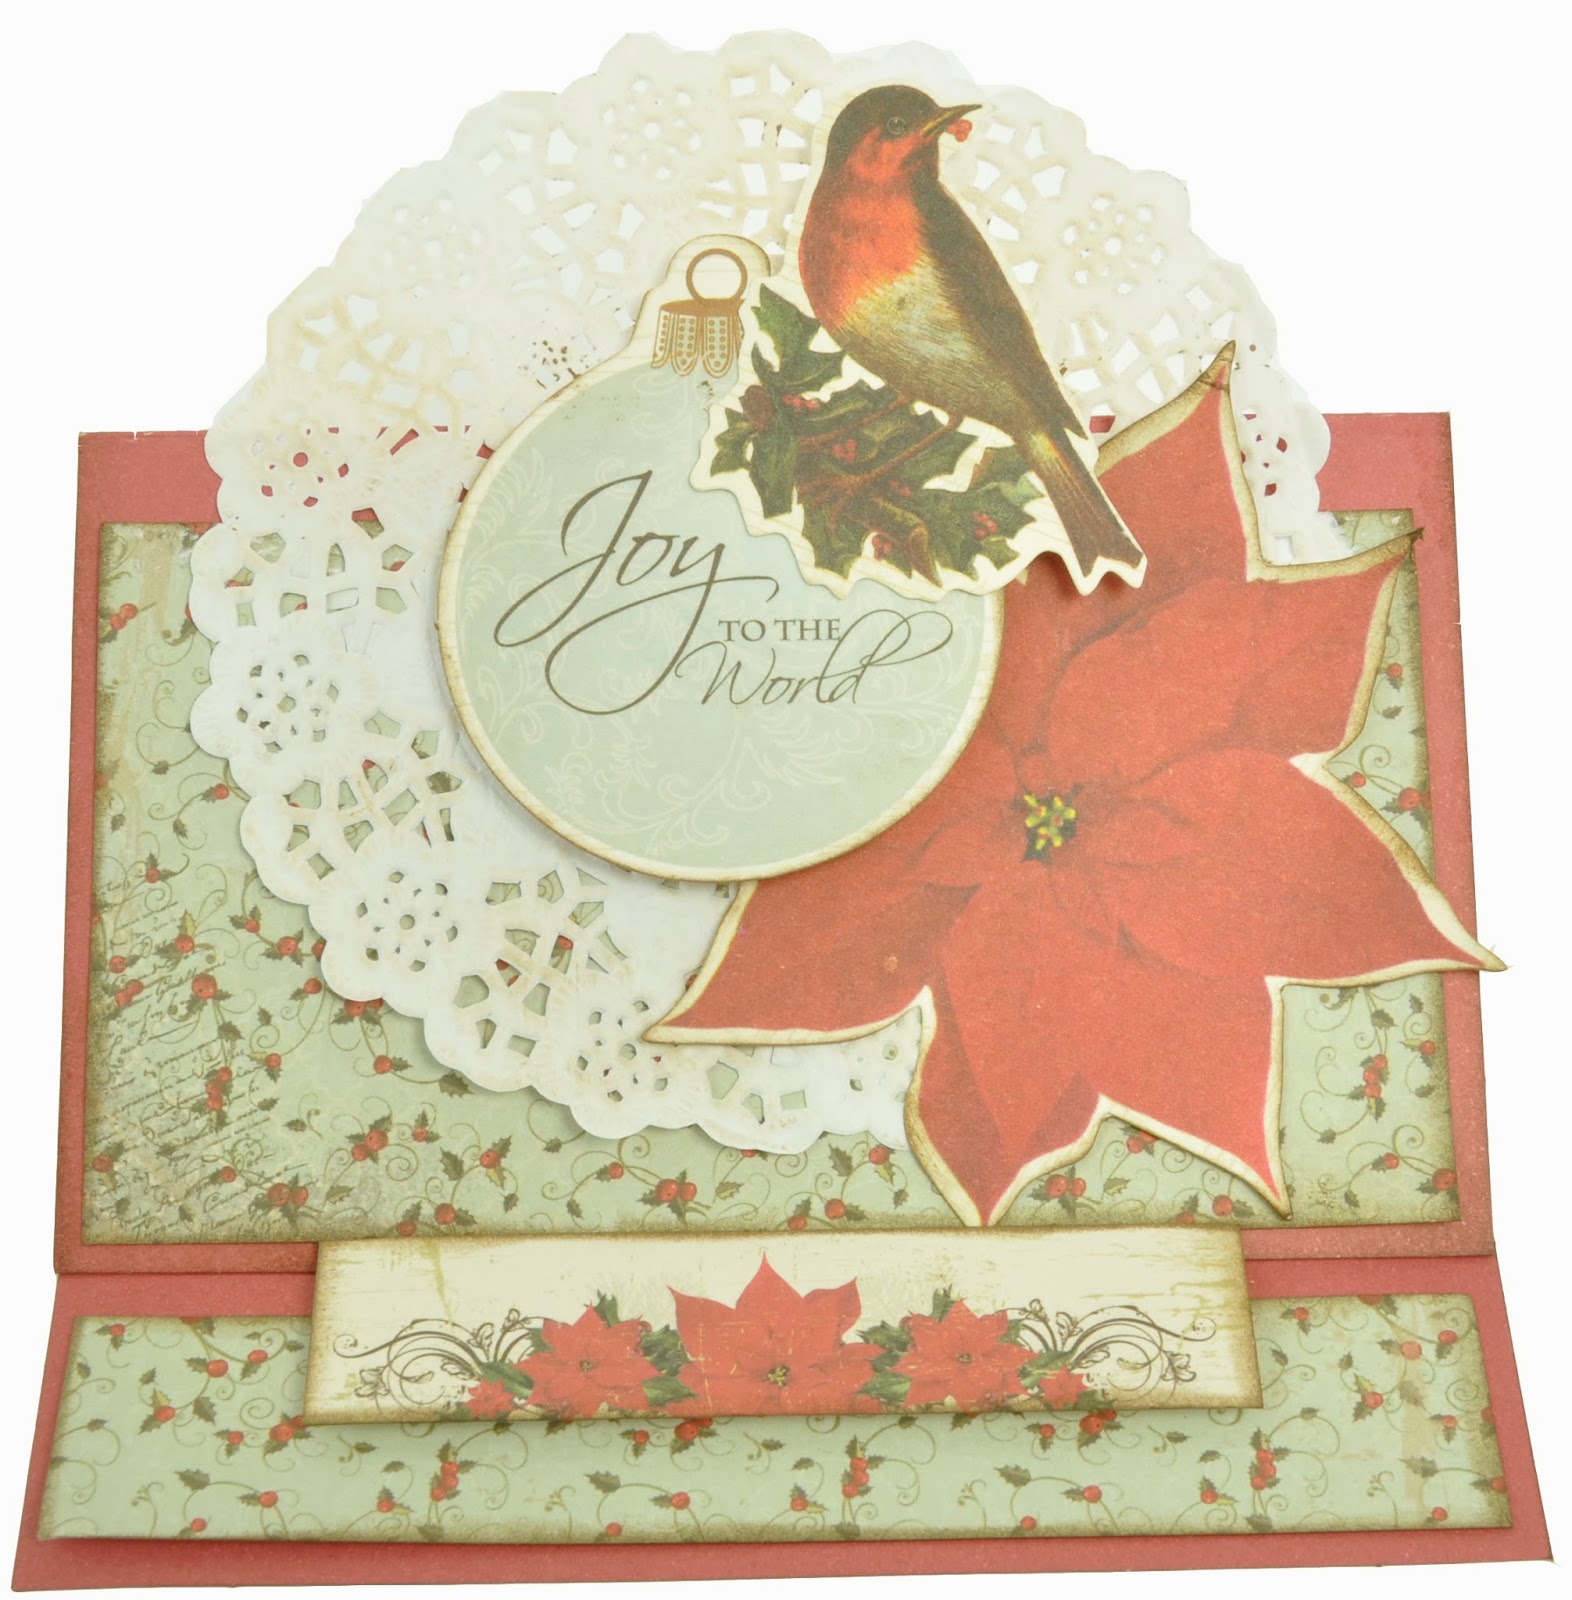


Use the Red card as the base for this Christmas Card.
Ink the edges if desired.
Mark the card at 2” from the left edge and fold
Turn card around so that it opens from the bottom
From the blue and little red berry paper cut two rectangles;  One 5” x 2¾” and the other 5” x 1”.
Adhere the larger piece to the bottom of the card and the smaller piece to the bottom of the inside of the card.
Adhere a doily to the front.
Foam mount a die cut to the inside of the card to allow the card to stay open
Layer the quote, bauble, poinsettia and bird collectables to the front using foam tape to add dimension.   
Ink edges of these before adhering if desired.


Use the Olive card as the base for this Christmas Card.
Ink the edges if desired.
Cut a 5” square from the gold foiled music paper, ink the edges and adhere to the centre of the card
Lightly ink the doily using Antique Linen
Ink the edges of the two of the perforated cards and adhere
Cut out the words CHRISTMAS and GREETINGS from the relevant word page and adhere using foam tape.
In the collectable circle with 25 on it and adhere the number 25 using foam tape.
Stamp relevant sentiment inside the card.


Use the Red card as the base for this Christmas Card.
Cut in half and trim corners to create a tag shaped card.  Punch hole in top if desired.
Ink the edges if desired.
Stamp Lattice texture on the top half of the card
Adhere half a doily
Adhere the large red rectangle quote so that it is overlaying the left edge of the tag.
Layer further collectables as desired using foam tape to add dimesnion.
Complete by adding a wooden flourish present and string to the top. 

Using the second half - Ink the edges if desired.
Stamp Lattice texture on the top half of the card
Adhere half a doilie
Adhere the large green rectangle quote from the collectables pack to the right of the tag overhanging the edge.
Layer further collectables as desired using foam tape to add dimesnion.
Complete by adding a wooden flourish present and string to the top. 

Saturday, 21 September 2013

Travelling all over the Country Side - well a little

I've been very fortunate over the past few months to have been asked to teach at a number of stores and retreats over Australia... and spread a little more of the Kaiser love..
Finally I can get to share with you a few of the projects I have been working on... 
Thanks to all the lovely girls in Western Australia and Tasmania who have made me feel really welcome and the fun that we had in the classes.

First of all a Huge thanks to Kareena from the Scrappy Cow - who entertained 50 of us in Augusta.  Kareena that was probably one of the best organized retreats I have even been on.  Thanks too for all the WA cruise ladies who came down to catch up with me also - it was a lots of fun to see you all again...
The whole weekend was Awesome and look forward to coming over again sometime....   and next time Kareena I will find "Willy" and free him.....  (long story don't ask.....)  but my feet have recovered from that loooonnng walk that was only supposed to take an hour... hmmm

After the weekend I was fortunate enough to go and visit many of the local scrap stores and see how things were going.  It was lovely to put faces to names and visit the stores I have only ever known by name.  Thanks Sue (The Scrapbook Store) for a lovely dinner on Monday night.  I then ran a class at  then did a class after the retreat at one of the local scrapbook store, Scrapbooks from the Heart - thanks Cherie and the girls for a fun class and making me feel welcome too..

Then I came back home and headed over the waters to Tasmania where I was looked after by the lovely Kylie from Kylie's Card Craft - awesome shop girls if you are in Tasmania you need to head to Latrobe - quaint little town and an awesome shop and class setup...

We had quite a bit of fun and my favourite bit had nothing to do with scrapping it was the Chocolate factory - well who would have guessed....

Anyways here's a few pics of some of the classes what we did there.... class instructions if you would like can be downloaded below each picture...
Single using both the Bricks and Leaf Templates
Paper Range - Curiosity /Basecoat
Double using both the Bricks (texture paste) and Leaf Templates
Paper Range - Curiosity / Basecoat


Texture Stamps, punches and Miss Empire Paper Collection
What I loved so much about the layout Class is converting a few people who don't like getting their fingers dirty... there were some im just saying that turned up with gloves to wear...  (nothing wrong with that - I guess I enjoy getting messy).   Anyways call it silly but that is something I get a kick out of is seeing people challenging themselves and even though they may not like the style they are willing to have a go - more often than not - I get a little thank you at the end of it for putting them outside their comfort zones.... 
you got a love a challenge hey!!!

Friday, 20 September 2013

Project Life - Capturing the Everyday Moments


Do you think i love this style of scrapping - well of course I do...

How many photographs do you actually print, let alone scrap and put into an album? I know myself, with digital photography these days, many of mine never even get sorted properly let alone get taken off the computer and actually printed. As for getting my favourite photographs scrapped and into albums there is no way I could do it scrapping traditionally and only using a couple of photographs per page.

As a "traditional" scrapbooker within the Industry, Im often asked do I like Project Life? - well yes I LOVE the concept and yes i own numerous of the packs in the current format, amongst lots of other similar products and brands.   You have to hand it to Becky Higgins for making it trendy again - would like to personally say thanks.....

Pocket Pages are NOT a new concept. Believe it or not I was a consultant with Creative Memories for 10 years and we had PicFolio Milestone Albums for many years where you just slipped photos into these albums - they called it Slip in Simplicity” for a reason.   But we definately have Becky Higgins to thank for bringing it back to the forfront and starting Project Life with a back to basics approach along the same lines, originally through We R Memory Keepers - now American Crafts, to encourage people to get back to documenting those special memories that make us who we are. Whether it be Project Life, Photo Freedom, Simple Stories, WRMK Albums Made Easy or even Kaisercraft's own Easy to Scrap Pages that come with every collection, the idea behind them is the same.
 
Many of us are time poor, busy working, raising families and just doing the everyday things that take time, but still really want to have a designed photo album. Using this concept, you can now do this. 
 
How many times have you seen a beautiful embellished scrapbook page and say - “I Love It, that but its too hard for me” - if this is the case then maybe this style of scrapbooking is worth a try. Maybe its time to get back to the basics a little and start to document the everyday little things/occasions that you don’t want to forget using pocket pages
- all you need to do is slip in photo’s and add a journal card. Even this has been made easy for you with predesigned cards with quotes and sayings on them if you are short of words. Compare this to how long it would take you to traditionally scrap the same amount of photographs and Im guessing you may give this a try.
I recently ran the pages shown above in a class to some ladies who pretty much wouldn't have anything to do with this style of scrapbooking but have to admit by the end of it we had converted a couple of them - especially for photographs that you have heaps of such as traveling on a holiday and Christmas.
 
For those of you who are more advanced, this way of recording memories can works for you too. Sometimes we wish we could use more or all the photos that were taken from an occasion but they aren’t always good enough for a traditional scrapbooked page. Maybe you just have too many (I know that problem) to put on a page. But if you look closely, its those photographs (especially where the kids are mucking up) that tell a story and need to be shown in some way.  You know the ones that you have 1001 ridiculous looking selfies on your camera that they took whilst you weren't watching..

Use the pocket pages to tell the WHOLE story and capture all the little moments you want to remember. Keep them simple or if you have more time on your hands you can take it to another level and further embellish if desired. 
 
But WAIT.......... there is more........
the part I love the most, is that you can also....
HIGHLIGHT your favourite photos by scrapping a whole page traditionally and store in the normal Refill pages.  Insert these refill pages between the pocket pages in your album for added interest.
 
THIS WAY YOU GET THE BEST OF BOTH SCRAPPING WORLDS and we need to get back to basics and and tell the stories behind our photographs for our future generations.
 

Sunday, 14 July 2013

Curiosity 3d Layout - Templates Technique Class

Where:  Kaiser Head Office
               2 Bayldon Court  (Car park on right) - go to Reception. 
When:   6.30pm  Wednesday 31st July  (please come around 6.15pm so we can start on time.
Cost:     $25 or $45 including a Shadow Box Frame

            
Create a stunning 3 dimensional layout, which would be perfect for display in one of the new Kaiser Shadowbox frames. 
If you would like a frame they come in Black, White or Distressed cream.  Please let me know colour when booking in for class.
Using the new Vintage Victorian collection - Curiosity and explore new techniques using our new templates, texture stamps  and Fusion markers

To reserve a place click on the classes tab above for details on how to book and pay.
Look forward to seeing you there.  We had so much fun last week and look forward to another night together.
Mel

Friday, 5 July 2013

Miss Empire

Do you love all things vintage, heritage, steampunk, this Miss Empire is definitely the range for you.  With lots of vintage elements and old world charm you can see why I love this range.
Actually it is one of my favourites and have designed a number of classes in this, which unfortunately as Ive still a few places to teach them at I can't share just yet but I will soon.    But as you can see you can scrap almost photograph as the colours suit both male and female.  Mix it up with our Basecoat range and you can also create some awesome off the page projects.  
Time is a Great Story Teller
With so many collectables in this pack you can create great layouts by layering them all with foam tape.  As you can see i haven't had to use much paper but the collectables do the work.
You can download instructions for this layout here

SB2252 Buffet Storage
This Buffet Storage is a great project to make for you craft room  Its big enough to store small bottles and pots of glue etc in the cupboard and the drawers are deep enough to keep all sorts of bits and pieces, from inkpads to stamps - anything really to keep your desk tidy...
You can download instructions for this project here.

And if this is a little big then maybe one of these smaller projects if for you.  These are much smaller but great to store smaller embellishments in.

SB2255 Mini Tall Boy

SB2256 Mini Storage Cupboard


Click HERE to have a closer look at this range and see other great projects from the girls at Kaiser.

Thursday, 4 July 2013

Upcoming Classes

With Chandon Craft  unfortunately closing soon, next week I will be starting to run my own classes from either the Kaiser Head office classroom and some at the outlet depending on whether it is a day or night class.
Next weeks class will be held at the Kaiser Head Office.
For any local ladies interested in an upcoming class in Geelong, I have just updated the UPCOMING CLASSES/CROPS tab above - so check here for further details if you are interested in participating in these, costs and where they will be held.
If you would like to come along and join in the fun and learn a little something along the way email me and let me know you would like to attend as soon as possible.

...  stay tuned for new Project Life styled classes next month...

Friday, 14 June 2013

2014 Scrapbook Cruise


Details of the next scrapbooking cruise for 2014 has now been posted.
If you are interested click on the above tab and check out all the details.
We had so much fun in the South Pacific two years ago that we have decided to go back, even on the Radiance as well.  After being on the other Royal Caribbean ships that come here to Australia, we all agreed that this was the best one and have rebooked it...  It is a slightly smaller ship than the Voyager so numbers are limited but if you are interested get your name down soon.
Mel